GitHub Copilot is Free for Students — Here's Exactly How to Get It in 2026
A step-by-step guide to applying for the GitHub Student Developer Pack, passing verification, and using Claude, GPT, and Gemini inside VS Code at zero cost.

GitHub Copilot is Free for Students — Here’s Exactly How to Get It in 2026
A step-by-step guide to applying for the GitHub Student Developer Pack, passing
verification, and using Claude, GPT, and Gemini inside VS Code at zero cost.
If you are a student who codes and you have not claimed this yet, you are genuinely leaving one of the best free tools in tech sitting on the table. Every single day.
Here is what nobody posts about in college group chats: GitHub gives verified students free access to GitHub Pro — and with it, GitHub Copilot Student, which puts
Claude, GPT, and Gemini right inside VS Code. No subscription. No credit card. No juggling between browser tabs.
This post walks you through exactly how to get it, step by step.
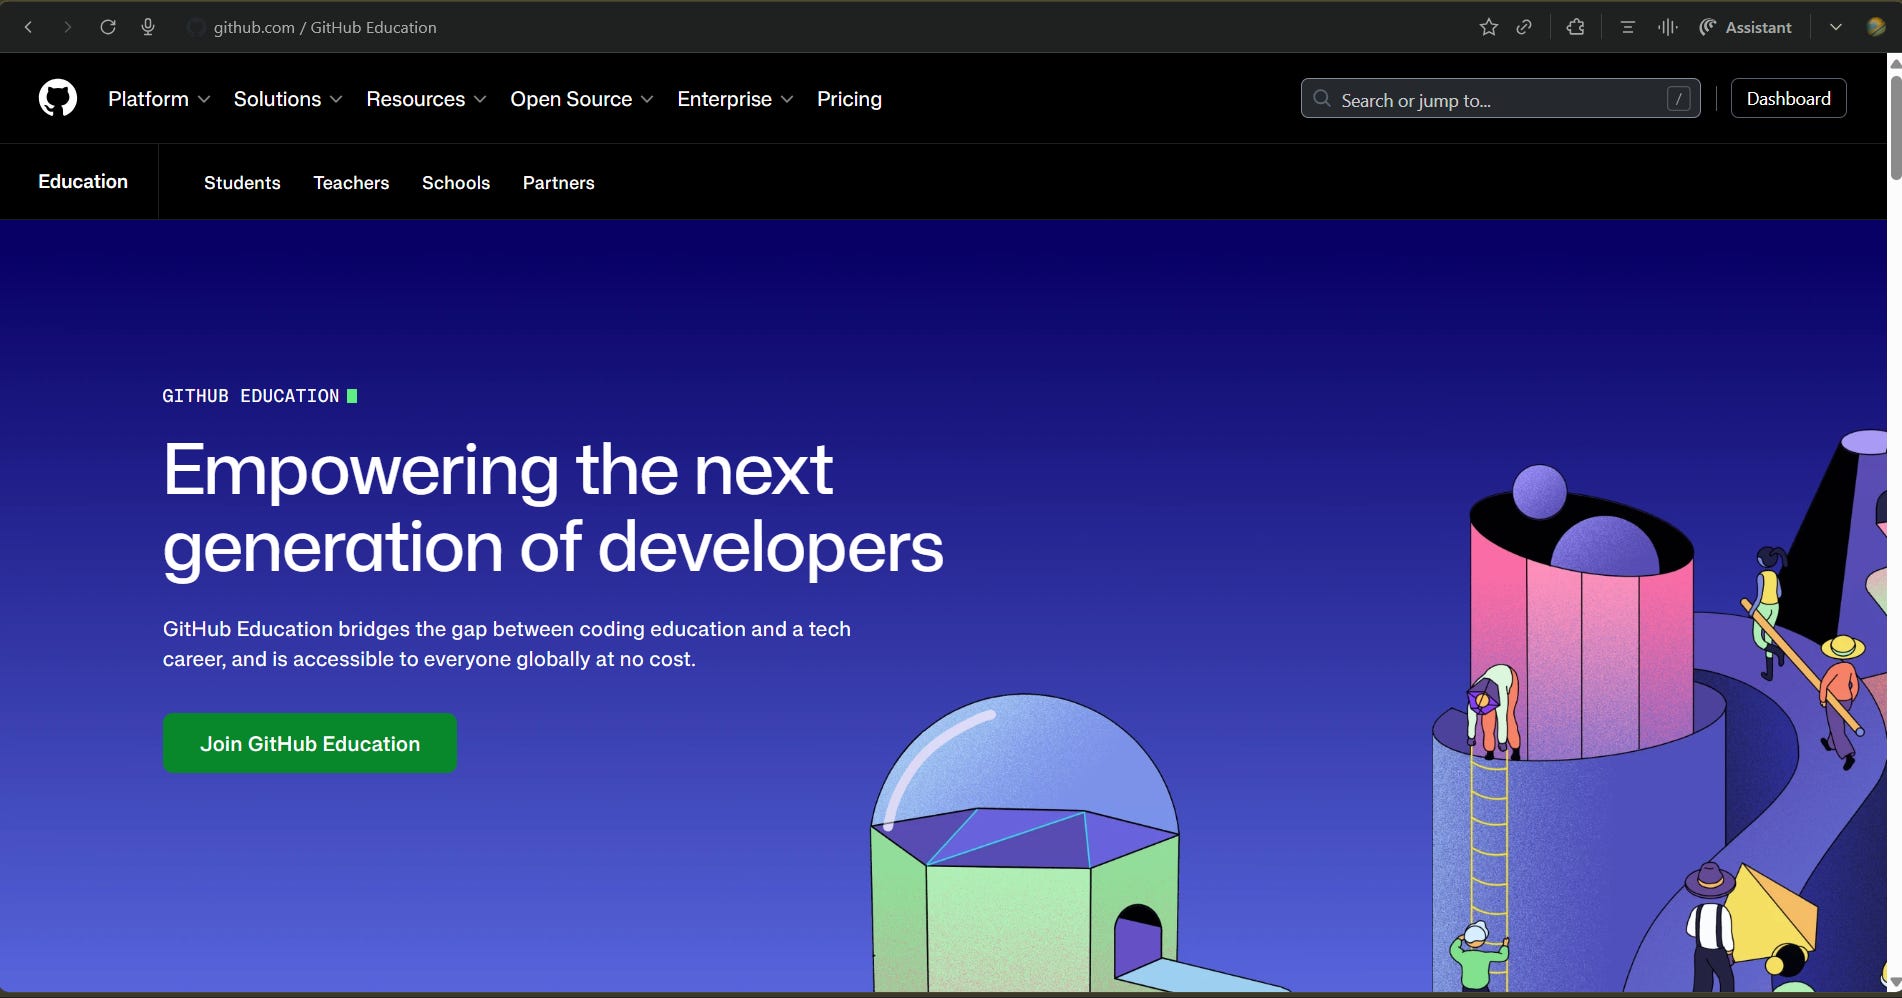
What Is the GitHub Education Plan?
GitHub Education is a program built specifically for students. Once you verify your student status, you get the GitHub Student Developer Pack — a bundle of 100+ free tools worth thousands of dollars.
But the one that actually changes how you code every day? GitHub Copilot Student.
What Copilot Student includes:
Unlimited AI code completions inside VS Code
Access to premium AI models in Copilot Chat — Claude, GPT, and Gemini
Access to Copilot cloud agent
A monthly allowance of premium model requests
All of this costs ₹0.
What Models Do You Actually Get?
Inside VS Code’s Copilot Chat, you get access to:
Anthropic Claude — Claude Sonnet 4, Sonnet 4.5, Opus 4.5. Best for writing clean code, explaining logic, and refactoring.
OpenAI GPT — GPT-5, GPT-5.2, GPT-5.3-Codex, GPT-5.4, and GPT-5.4 mini.
Codex variants are specifically tuned for code generation tasks.
Google Gemini — Gemini 2.5 Pro, Gemini 3 Flash, Gemini 3.1 Pro. Handles large files, data-heavy tasks, and multimodal inputs well.
VS Code also has an Auto mode that intelligently picks the best available model for your task — so even if you do not manually switch, you are always getting a strong model.
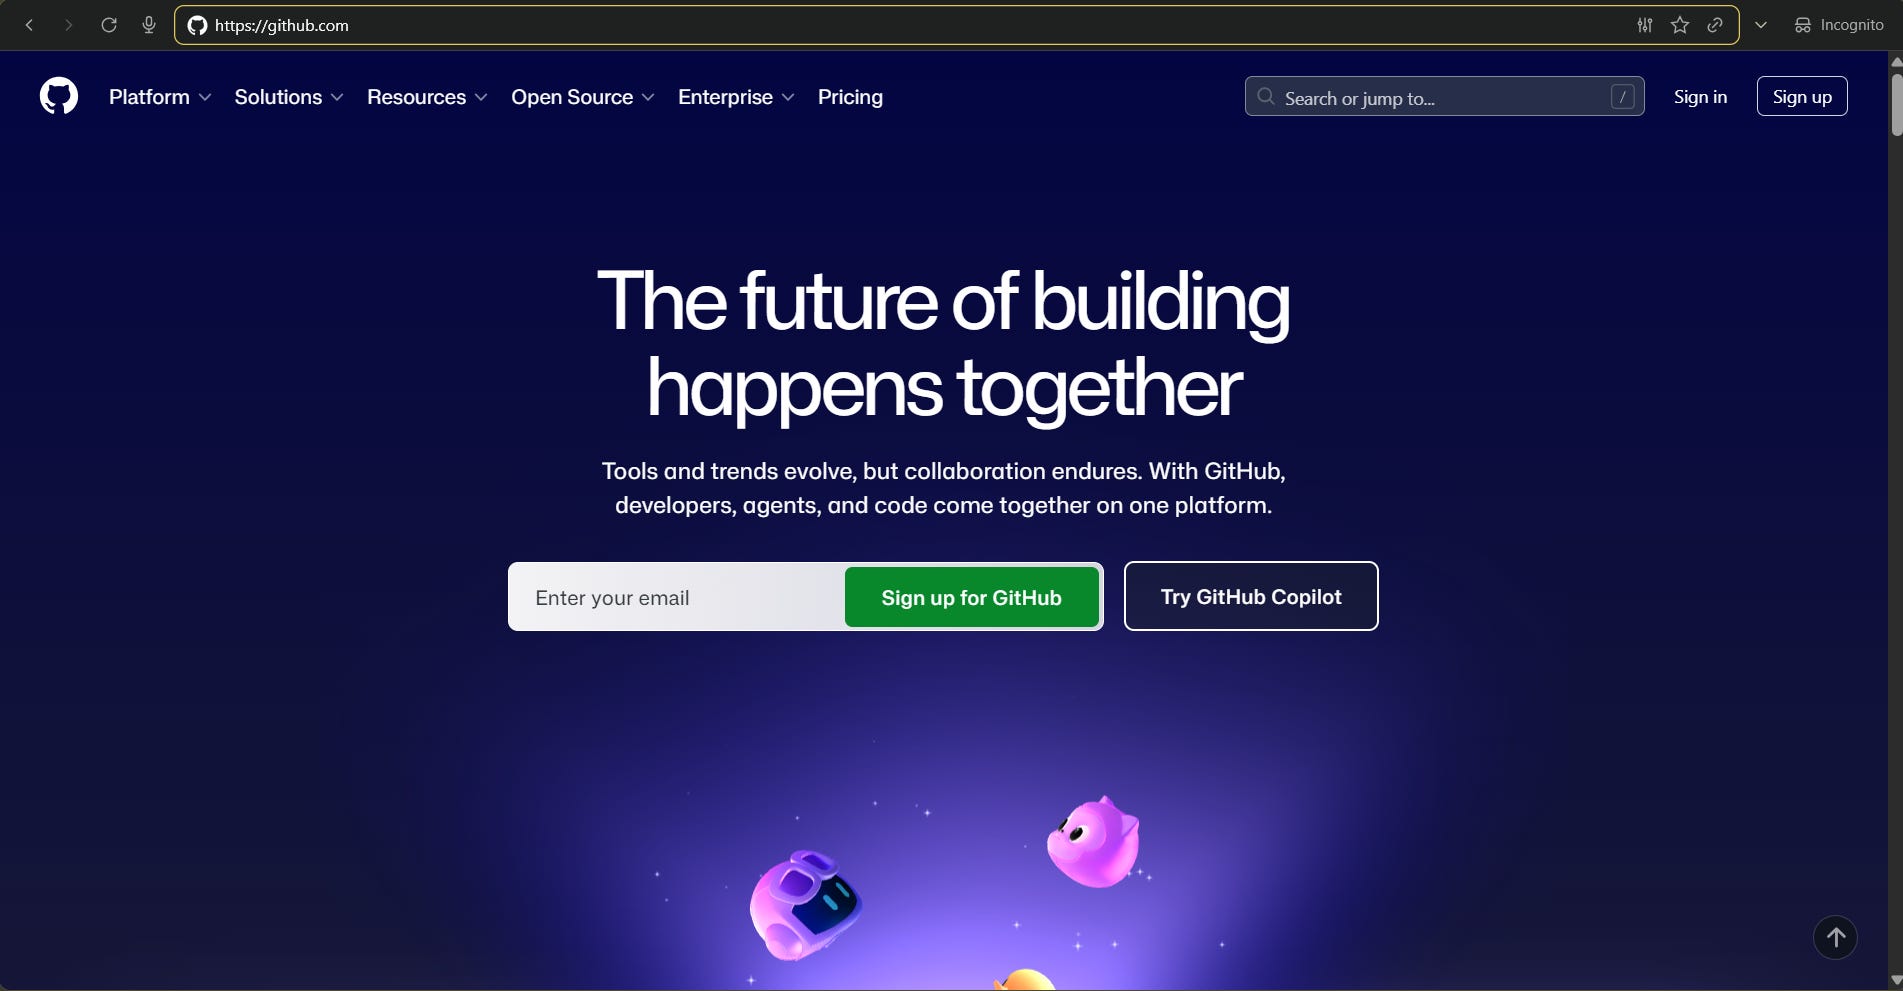
Step 1 — Create or Log into Your GitHub Account
Go to github.com and sign up if you do not have an account. Use your personal email for now — you will add your college email in the next step.
If you already have one, just log in.
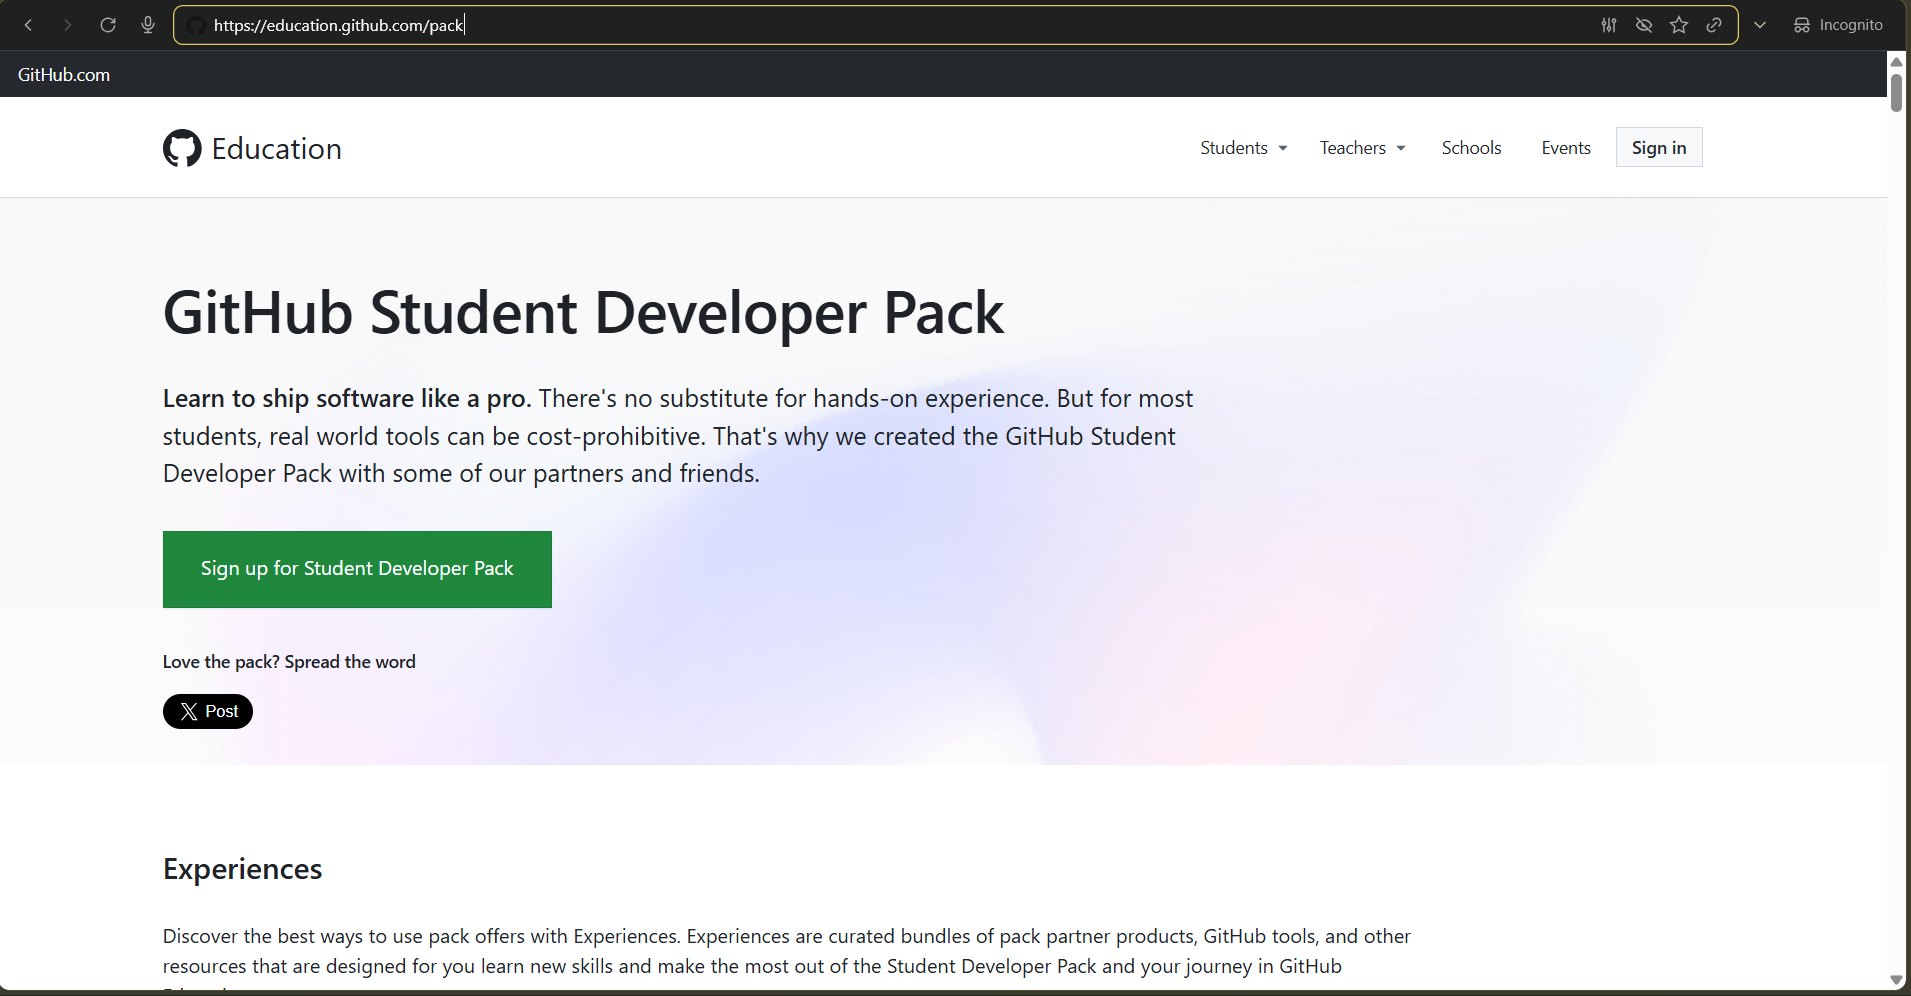
Step 2 — Go to the GitHub Education Page
Navigate to:
education.github.com/pack
Click ”Get Student Benefits.”
You will be asked to confirm you are a student. Click ”Yes, I’m a student.”
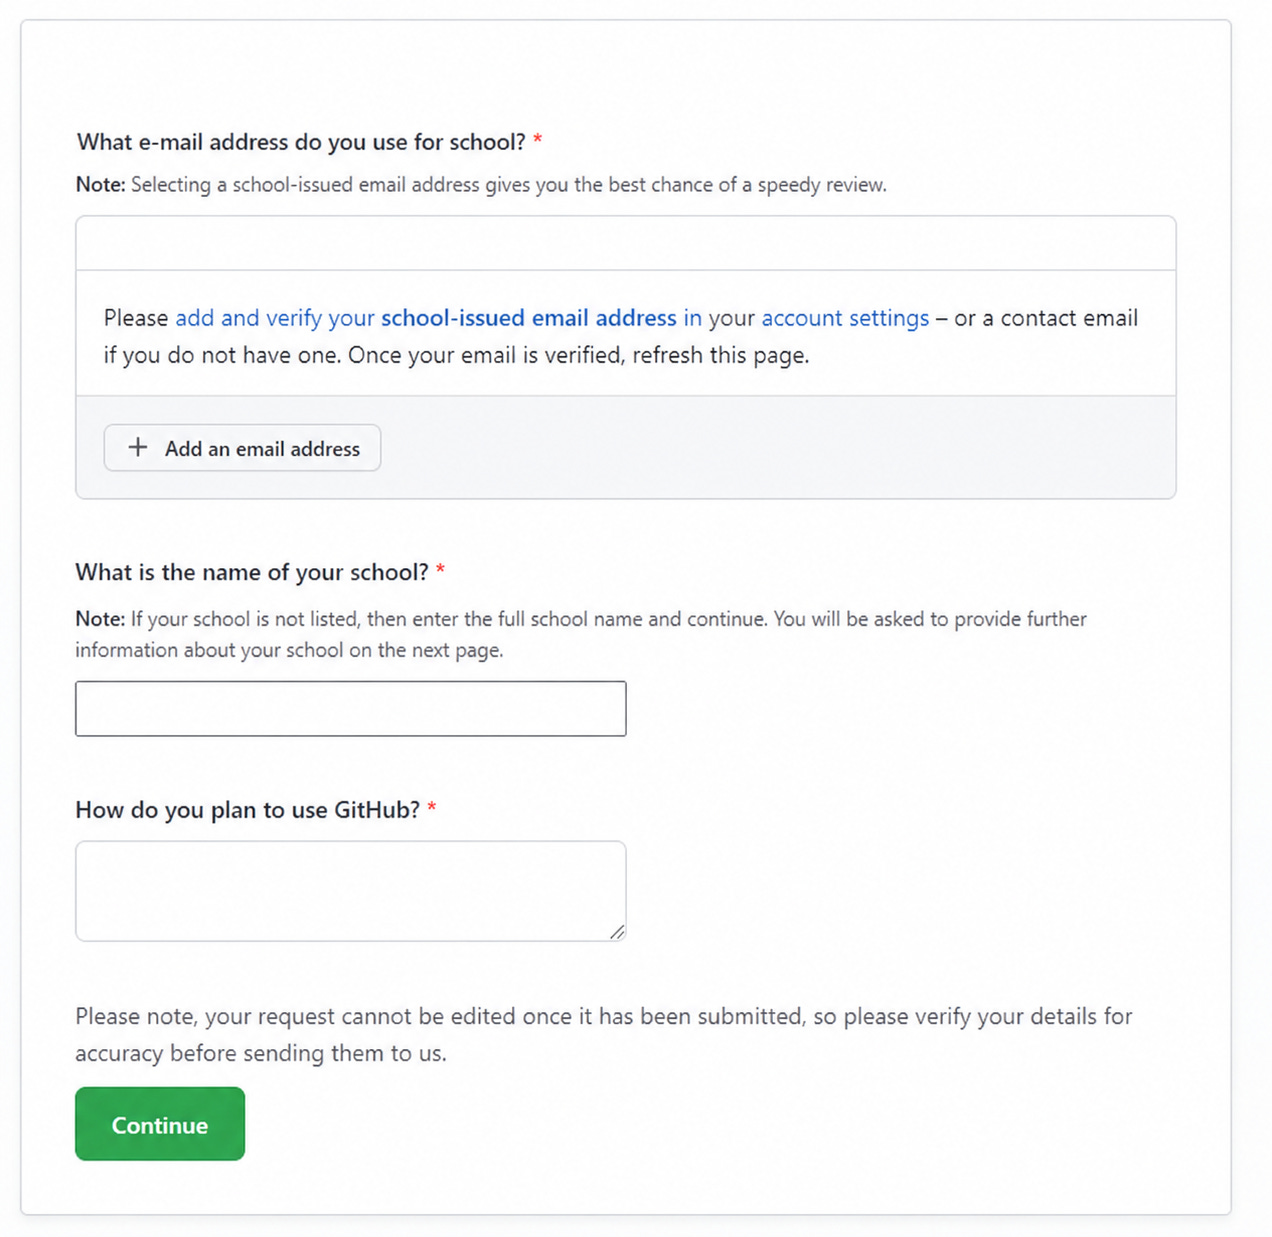
Step 3 — Fill Out the Application
GitHub will ask you for three things:
1. Your school name
Type your college or university name. GitHub has a global database — it should appear as a suggestion automatically.
2. How you plan to use GitHub
Write something genuine. Example:
”I am a Computer Engineering student building full-stack web applications. I want to use GitHub for version control, open source contributions, and AI-assisted development with Copilot.”
3. Proof of student status
This is the most important part. Upload one of the following:
Your college ID card — clear photo, current academic year visible
An enrollment letter or bonafide certificate from your college office
A fee receipt showing your name, college name, and current year
Pro tip for Indian students: If your college issued you an email like
name@collegename.edu.in, add it to your GitHub account underSettings → Emails before applying. This speeds up approval significantly.
If not, a bonafide certificate works perfectly.
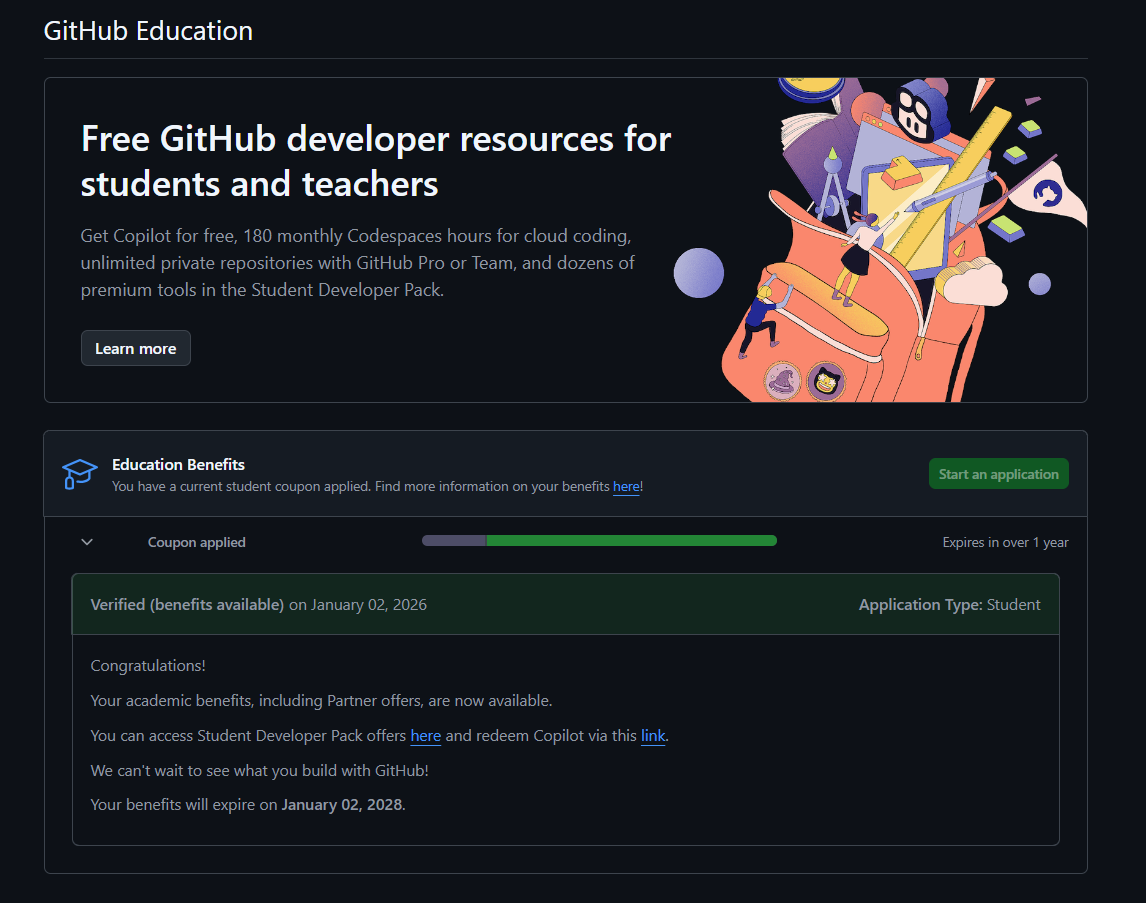
Step 4 — Submit and Wait for Approval
After submitting, GitHub typically reviews within a few hours to 2–3 days.
You will get an email once approved.
If your application gets rejected, here is why it usually happens:
Document photo is blurry or cropped — resubmit a clean, full-frame photo
Enrollment date is not visible — use a bonafide certificate that explicitly states your current academic year
GitHub flags manipulation — always upload an original, unedited photo.
Never re-export a scanned PDF
You can reapply immediately after fixing the issue. The team is responsive.
Note for May 2026: GitHub temporarily paused new Copilot Student
sign-ups from April 20, 2026, as they roll out an updated billing system.
The GitHub Education Pack application is still open — apply now, and
activate Copilot once sign-ups resume. Check github.com/features/copilot for updates.
Step 5 — Enable GitHub Copilot in Your Account Settings
Once your application is approved:
Go to your GitHub Settings
In the left sidebar, under ”Code, planning, and automation”, click Copilot
Click ”Start using Copilot Student” — it activates for free automatically
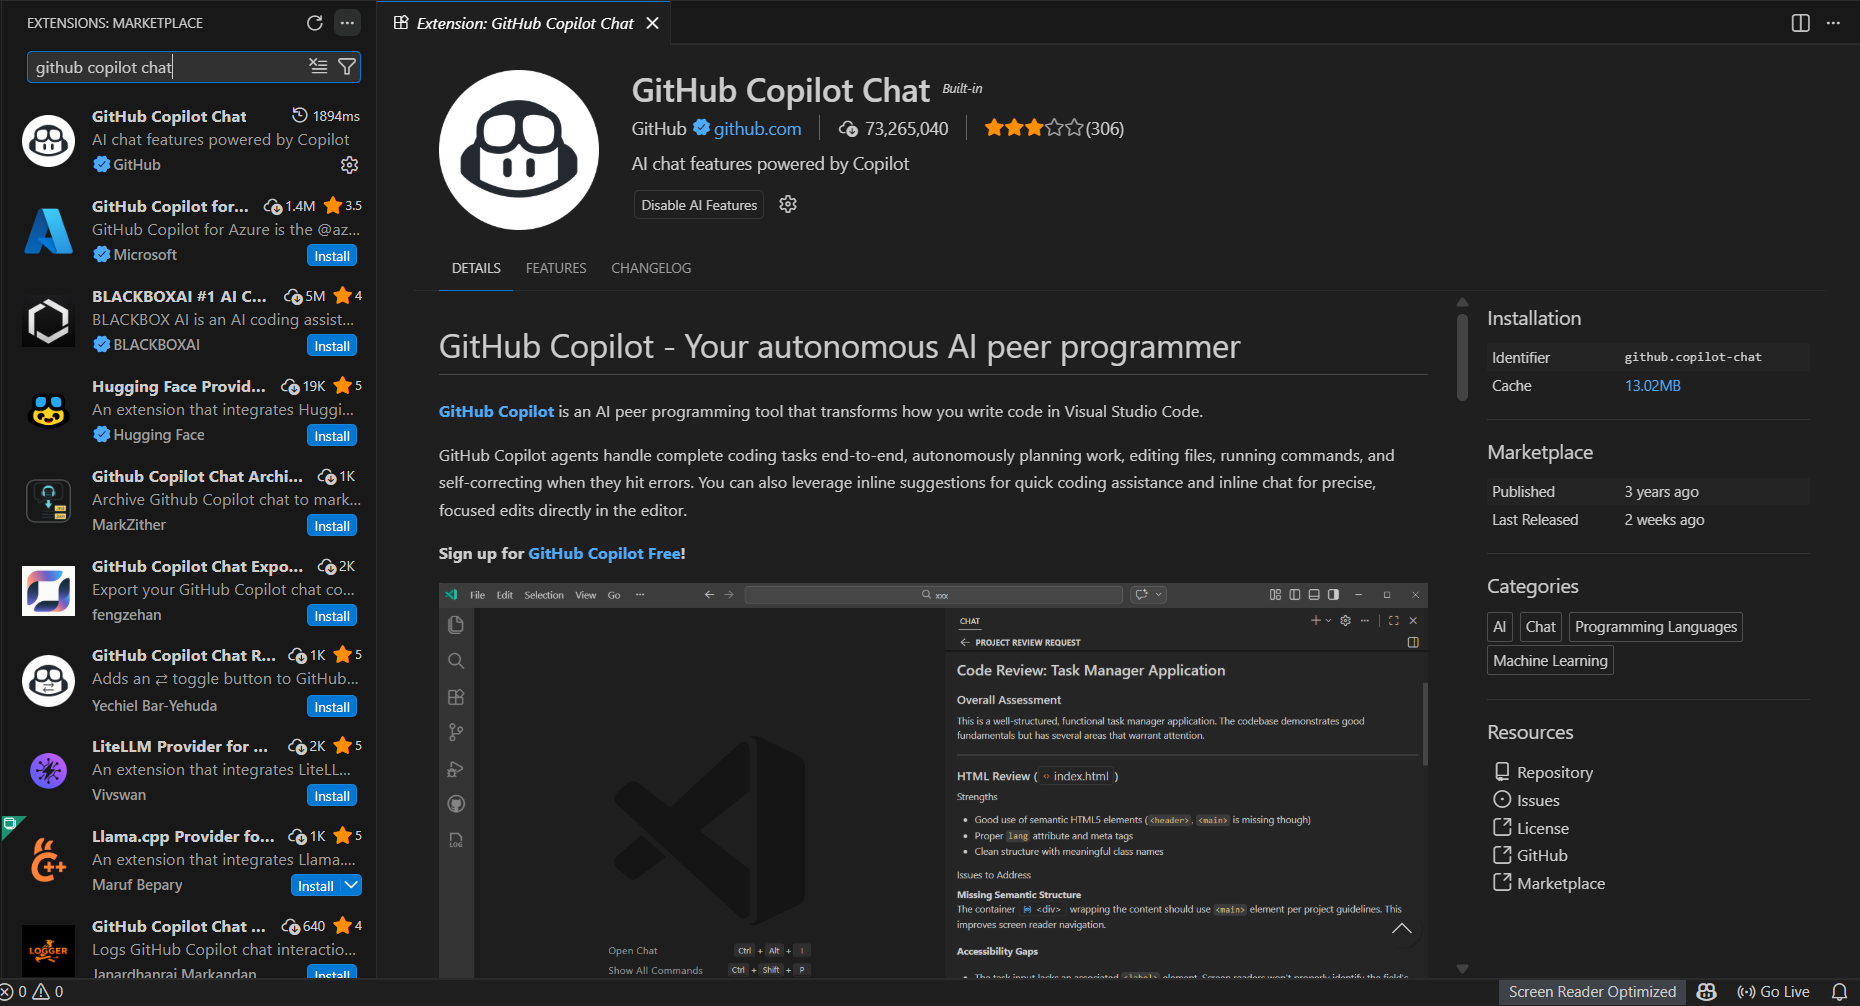
Step 6 — Install the GitHub Copilot Extension in VS Code
Open VS Code. Go to the Extensions panel using Ctrl+Shift+X (Windows/Linux)
or Cmd+Shift+X (Mac).
Search for: GitHub Copilot
Install both:
GitHub Copilot — handles inline code suggestions as you type
GitHub Copilot Chat — the side panel where you talk to the AI
After installation, VS Code will prompt you to sign in with GitHub. Click Sign In and authorize it using the same GitHub account from your Education application.
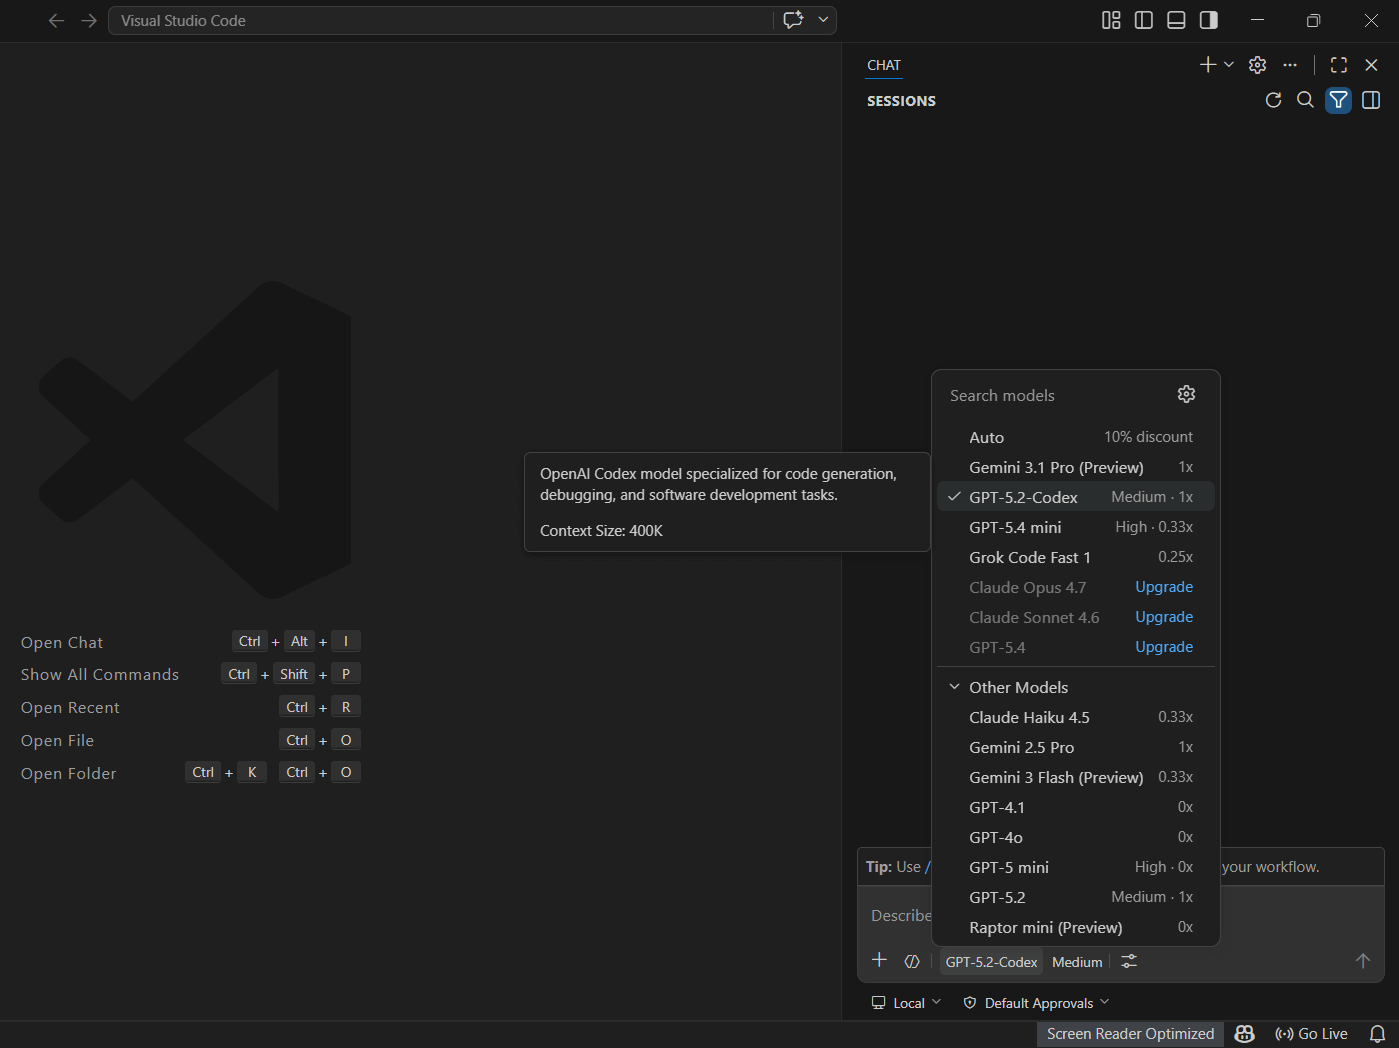
Step 7 — Switch Between Models in Copilot Chat
Open Copilot Chat from the VS Code sidebar or press Ctrl+Alt+I.
At the bottom of the chat input box, you will see a model label — it defaults to Auto. Click on it to open the model picker and switch to whichever model you want.

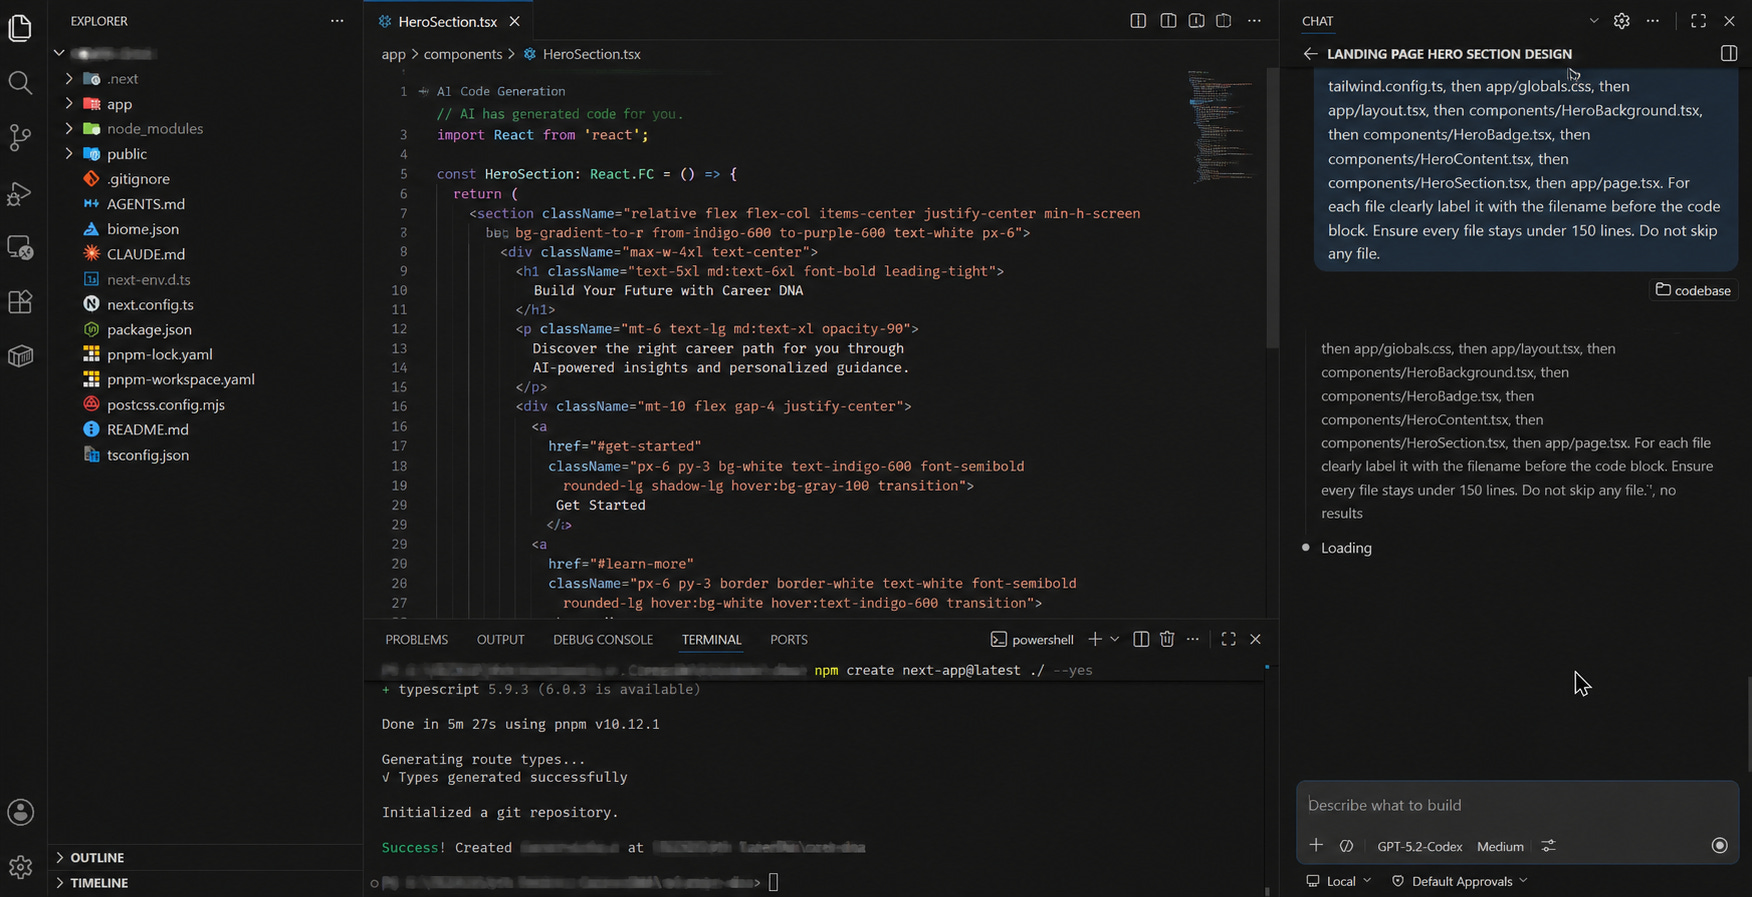
What This Actually Looks Like While Coding
Open any project, open Copilot Chat, and type something like:
”Build me a REST API route in Express.js that accepts a POST request with a name and email, validates both, and returns a JSON response.”
Copilot returns a complete, working code block in seconds. You can then ask it to explain each line, add error handling, write tests, or refactor the entire thing — all without leaving your editor.
You also get inline suggestions — just start typing anywhere in a file and Copilot auto-completes your code in real time. And Agent Mode lets Copilot read your entire codebase and make multi-file edits autonomously.
One Application. That Is All It Takes.
Go to education.github.com/pack, apply with your college ID or bonafide certificate, and wait for the approval email. Once it is through, follow the steps above and you will have the best AI coding models inside VS Code — free for as long as you are a student.
Students who know this are already building faster, shipping real projects, and learning from the most powerful models in the world. The ones who do not are still paying or going without.
Now you know. Go claim it.
If this helped you, subscribe for more content that actually helps you stay ahead as a student developer in the AI era. I also made a short video walking through every step on my YouTube channel — link is in the description.